Build Log 16 - Van Complete!

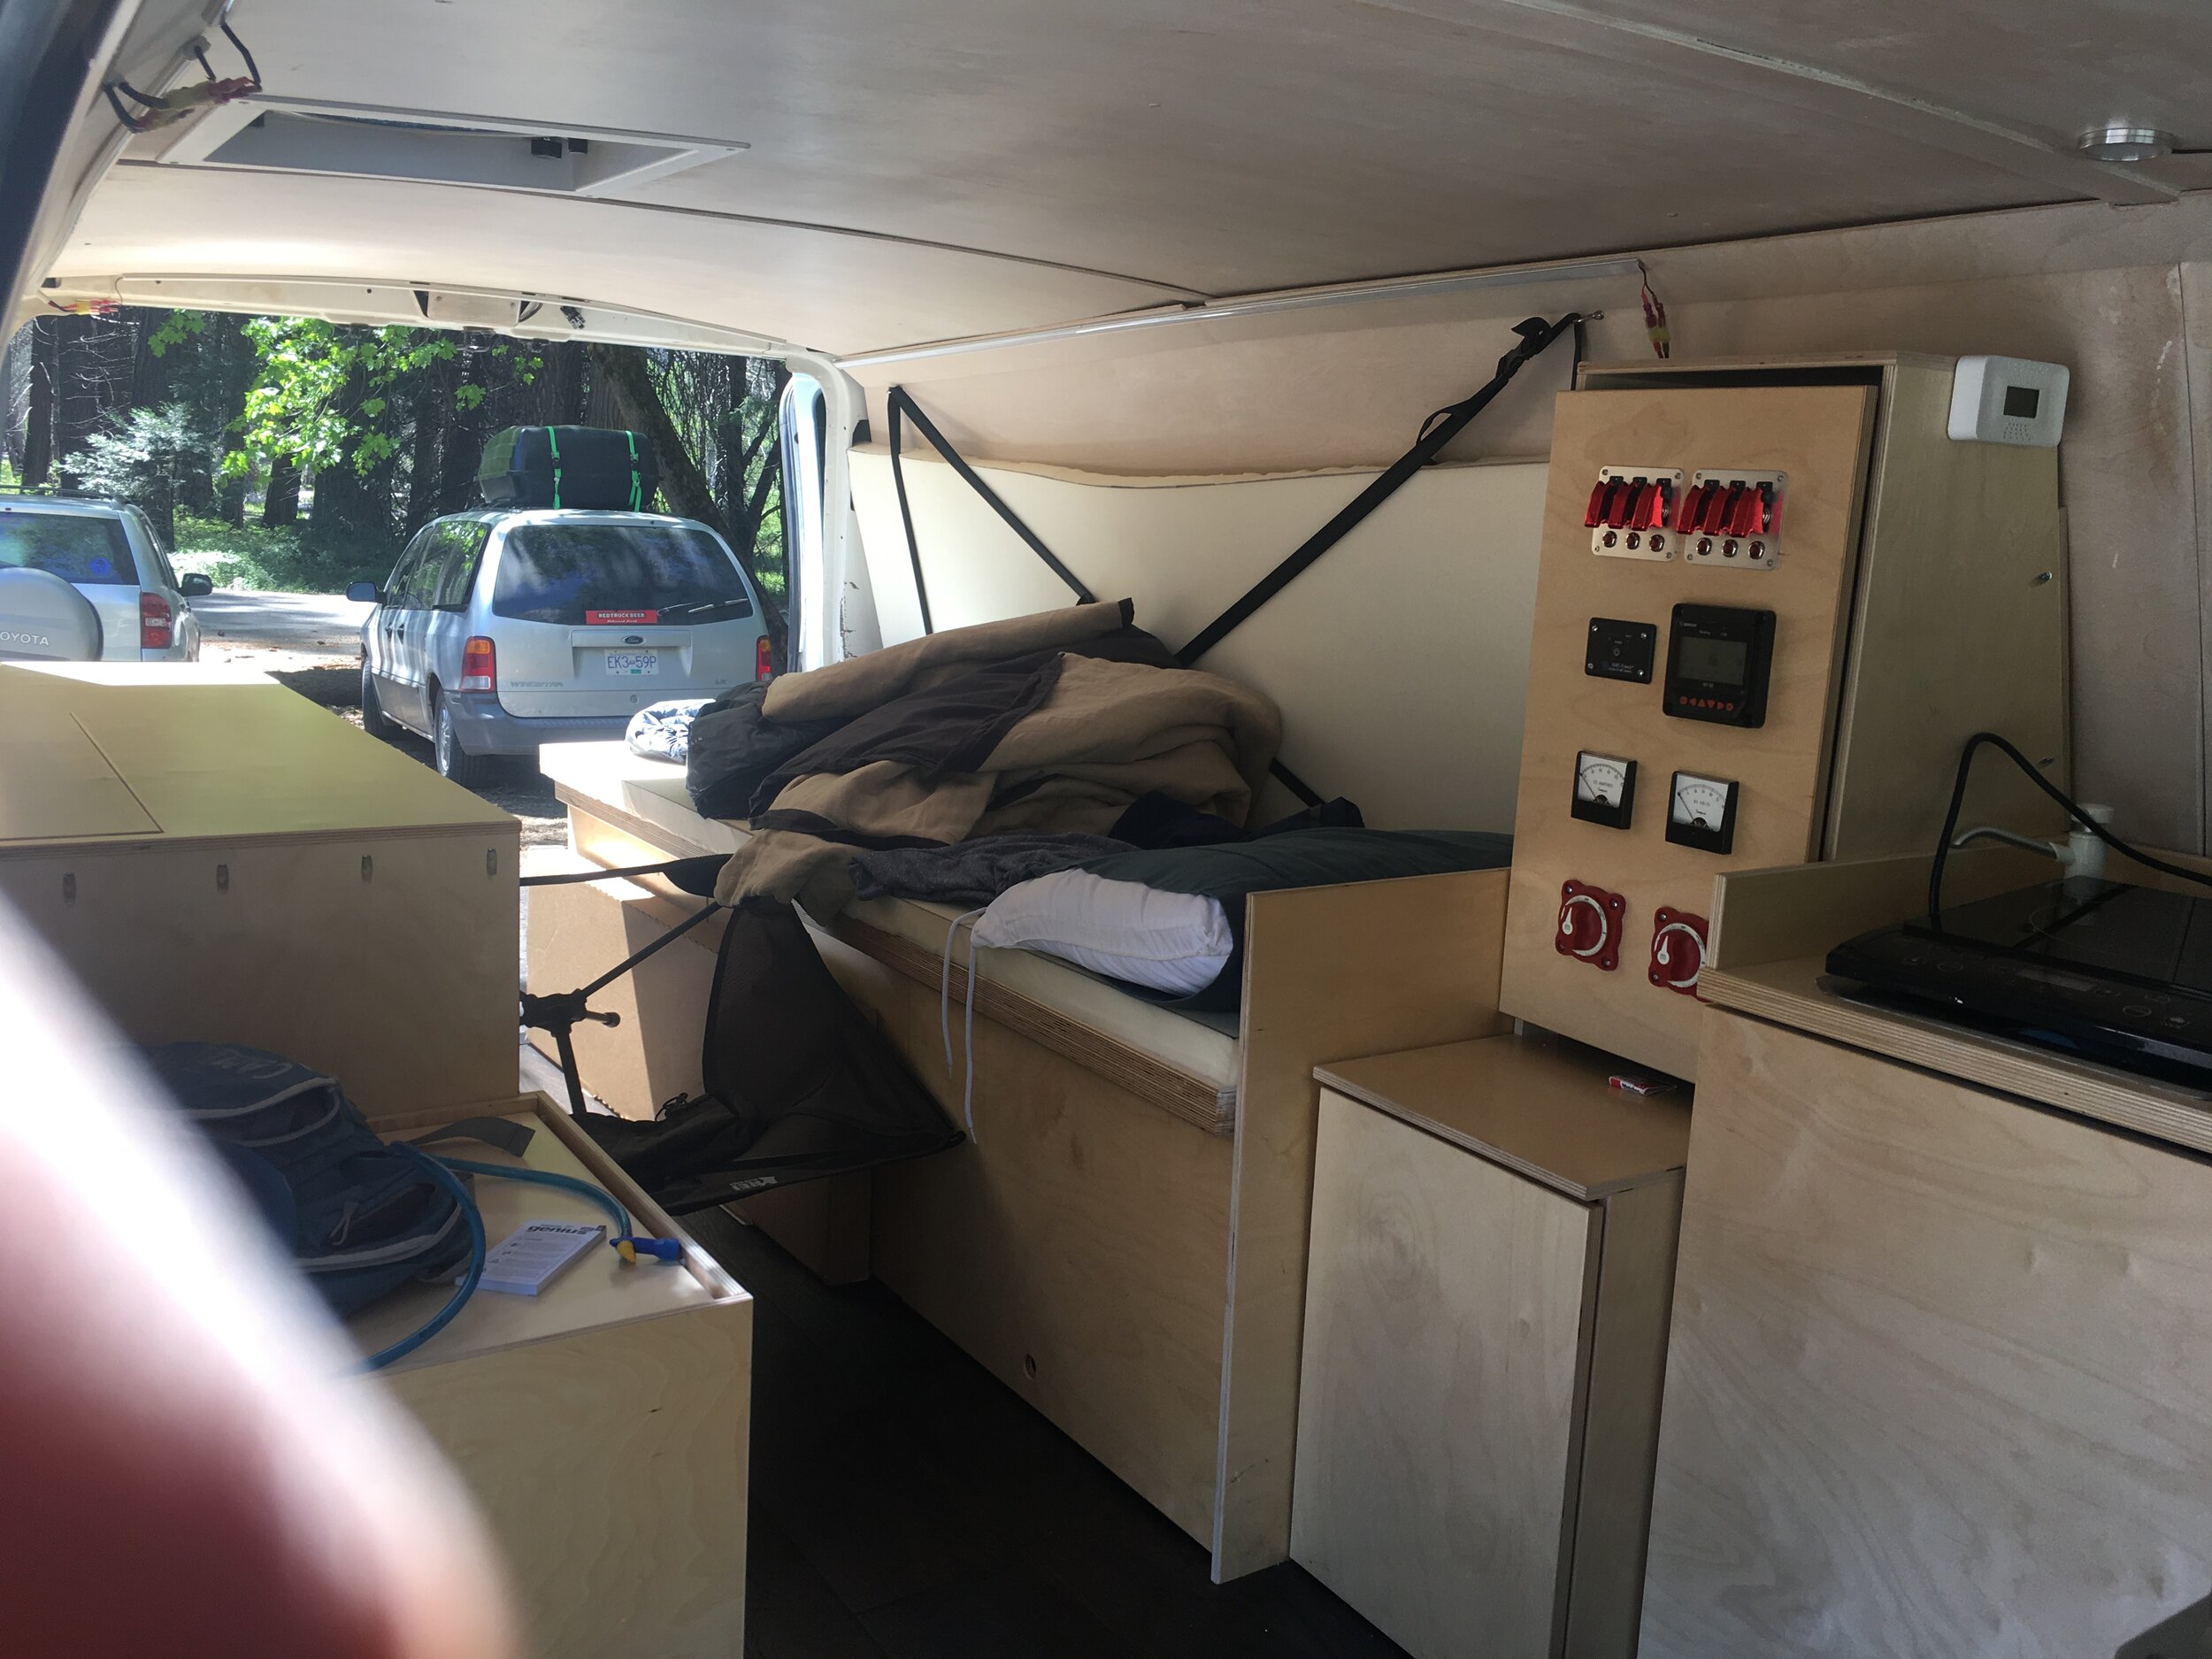
May 2017: Once the kitchen cabinetry was in, all the last little details needed to be taken care of:

  • Installation of felt pads to avoid rattling,

  • Installation of steel hardware for bungees to attach to

  • Cutting & finishing cabinet doors & installing magnetic closures

  • Finding plastic organizers that fit the space and worked for my organization scheme

  • Cutting mattress foam to size

  • Installing carbon monoxide sensor (super important!)

  • Provisioning with clothes, equipment, nice-to-haves

  • So many more little things…

The result is my van! While there’s always more to do and little things that can be improved, it’s comfortable, functional, cozy, and (in my opinion) pretty good looking!

Build Log 15 - Kitchen

As a result of the April 1 departure date, I put off finishing the kitchen till I was back from my 2 week test run to the Pacific Northwest. When I got back, though, Dad and I jumped into putting it together. This time around we used 3/4” baltic birch ply instead of the 1/2” in order to get a little more rigidity.

The cabinet was designed to fit my roto-molded cooler, a small sink, and a couple bins for spices and utensils. We put it together in much the same way the previous cabinetry was assembled.

Build Log 14 - Sewing Curtains

I knew that privacy would be a big concern in the van - at night with the lights on, I look like I’m in a display case! I also knew that the windows were going to be the biggest sources of heat loss in the van.

I decided to make insulated curtains to address both issues. However, my start date of April 1 was looming and I didn’t want to push it off. I decided to take my sewing machine and material with me and make the curtains in Portland at Varun’s place. Over the course of 6 days, I sewed together two rear blinds and a front curtain over there. Since this was my first sewing project ever, it took a lot of trips to Joann Fabrics and a lot of you tubing to figure out how to put these together. 

The Sewing Setup

The Sewing Setup

The curtains are comprised of a light colored linen inside, a dark colored cotton backing, and Thinsulate insulation sandwiched between. I made mini practice piece (the green & blue piece buried under everything else in the following photo) before starting on the rear curtains. Below you see one pinned and ready to sew, followed by the finished article!

The main curtain had added complexity, as I didn’t have enough gray cloth to cover the back. I sewed together 3 pieces to make it work, and I think it looks pretty good! Another complication involved inverting it. To make this sandwiched construction, I sewed everything inside out (exterior faces of linen and cotton together, and Thinsulate layered on top). Because this was such a large piece of Thinsulate to put in the middle of these two pieces of fabric, I had to ‘baste‘ (loosely stitch) the Thinsulate to one face, flip it right side out, then remove the stitching afterwards for a clean appearance.

Even though this was a first attempt - the blinds work pretty well, and unless you’re looking closely, it’s hard to tell that anyone is in the van. Also, in a pinch, the main cabin curtain doubles as a really warm blanket!

Build Log 8 - Running the Wiring

Finishing off the wiring was a big milestone in the build for a couple reasons. Firstly, it meant that I had finalized the number, type, and locations of electrical peripherals (USB ports & Lights) in the van. Secondly, it meant that I was committing to a rough van layout, as the USB ports were going to be mounted inside cabinetry. I’ll let the videos below do most of the deeper dive into the design of the system.

Notes on selecting wiring: 

Chief amongst my concerns when planning this out was making sure that the wires would be able to handle the load I was placing on them. As I researched this, I found out that there were a ton of variables involved in determining what gauge of wire to purchase, such as: 

  • Whether the wire would be behind insulation.
  • Whether the wire would be bundled with other wires.
  • The length of the wire.
  • The average duration that a load would be placed on the wire.
  • The startup current for the peripheral (which could be higher than the steady state draw).

Because I had no experience with wiring 12V systems, I decided to overrate everything and went with 12 AWG marine grade wire and plastic split loom to house it and prevent abrasion. This was definitely overkill and more pricey than it needed to be, but I’m confident that I won’t have any issues with overheating wiring in the future.

Build Log 7 - Solar System Proof of Concept

Once I had the solar panels up, I was pretty excited to put together my whole system and test it out. The system consists of: the panels, a charge controller, the battery bank, and a 1500 W inverter, which allows me to use regular 120V appliances on my system. While the final installation includes a bunch of switches, fuses, and busbars to safely distribute power, I didn’t bother with them for the proof of concept. 

It was incredibly cool to have this up and running! I was able to charge my phone, and my laptop from the solar system, and was also able to run lights late into the night using the onboard power to keep working.

Build Log 4 - Thermal Insulation

I spent a lot of time researching thermal insulation online and found a myriad of approaches and opinions. I decided against standard fiberglass batt (the pink stuff used in houses), as it would break down under the stresses of driving and probably give me mesothelioma. I decided against the eco-friendly variant, cotton batt made from recycled jeans, because vans tend to be humid environments and I didn’t want to have mold issues. I settled on rigid polyisocyanurate foam, which has a very high R value for its thickness. 

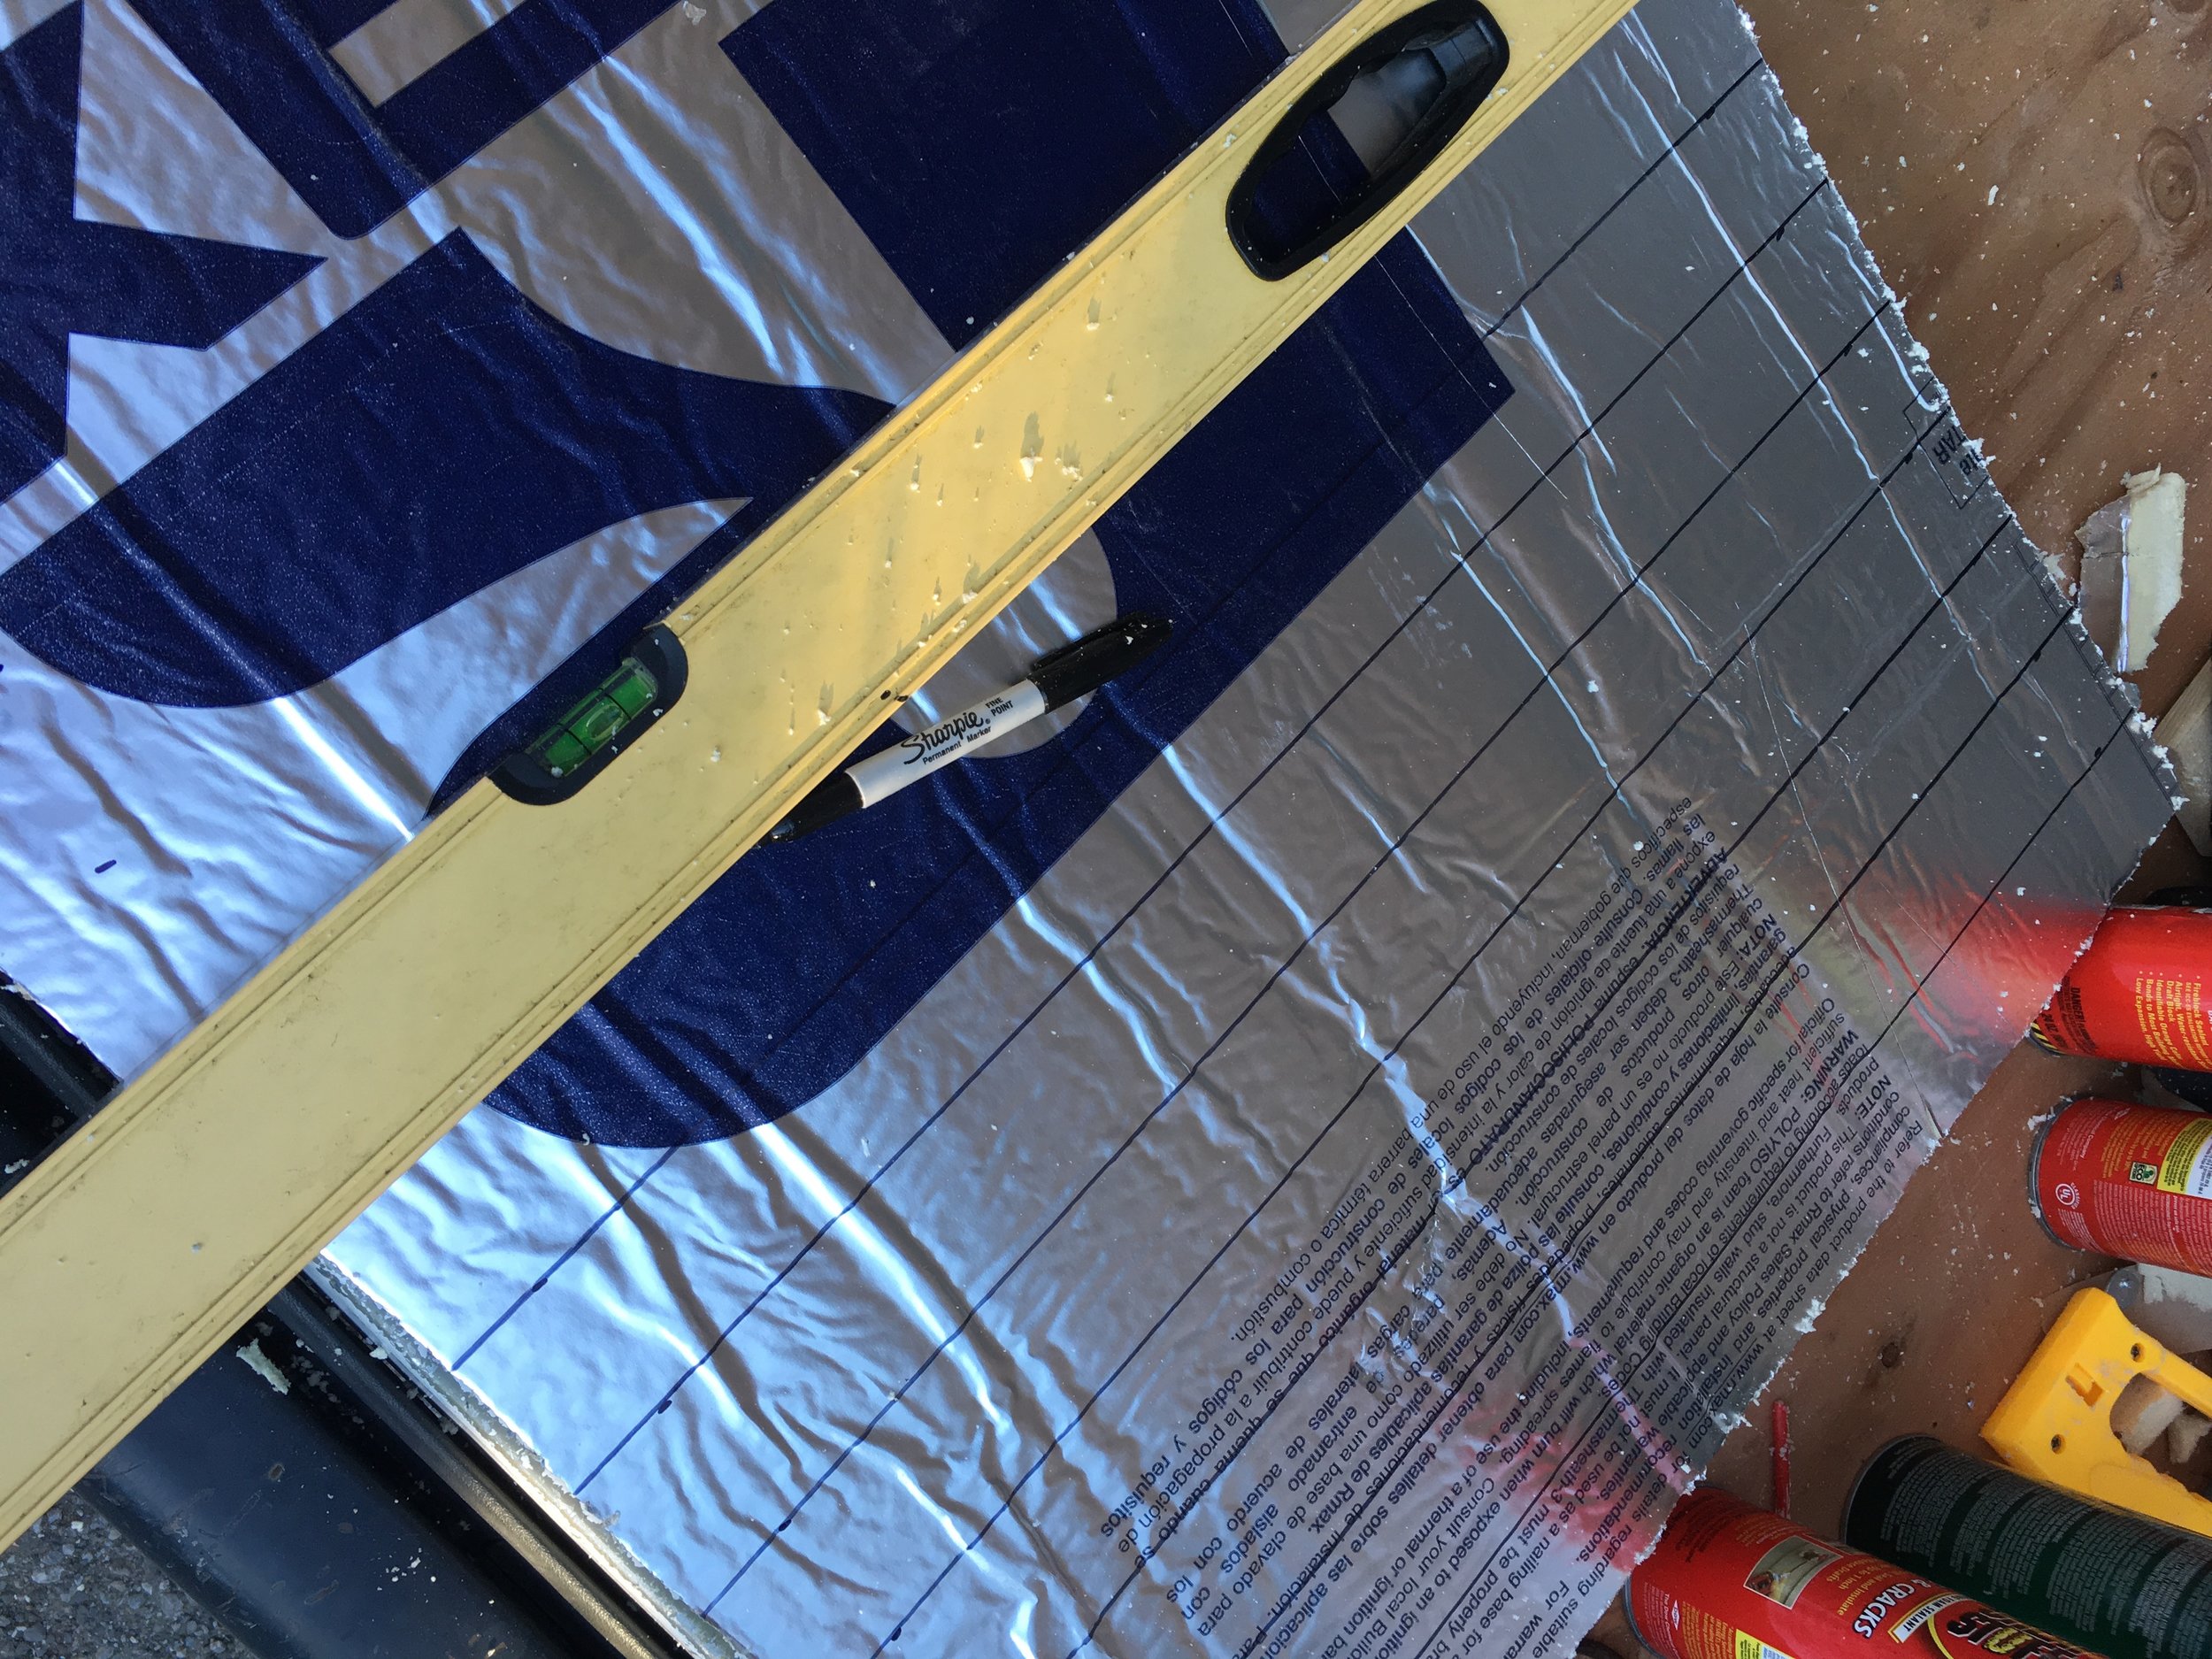
The polyiso foam comes in 4’ x 8’ sheets, just like plywood, which meant that I had to make a lot of templates again in order to fit it to the walls and ceiling. The foam posed another issue - it was rigid, whereas my walls and ceiling were curved. I employed a technique called “kerfing”, wherein the foam is sliced almost entirely through at regular intervals in order to flex evenly and approximate a smooth curve. After kerfing and taping the insulation in place, I filled in the cracks with more Great Stuff spray foam and little cut off bits of polyiso foam. 

Build Log 2 - Acoustic Damping

I discovered, in driving back and forth from Home Depot, that my van was incredibly loud and jangly. Running over bumps in the road was deafening, and the acoustic aftermath of potholes lingered for minutes after I’d barreled through them. 

In order to combat this, I decided to employ the same technique used by ricers around the world - ungodly amounts of Dynamat. For those who don’t know, Dynamat is a butyl based noise damping material comes as a heavy, flexible, sticky, aluminum backed sheet of something akin to tar.

Given that I was on a budget and that I had a huge van to cover in the stuff in, I opted for the cheaper generic butyl damper sheets that were available on Amazon. This stuff is applied by cutting it to size, sticking it onto the surface in question, and rolling vigorously until all air bubbles are gone and the mat is stuck well and good. I applied it to the wheel wells, unsupported areas of the floor, the walls, and the entire roof. All in all, I applied ~100 lbs of the stuff. The result was a significant reduction in wind noise and road noise, and a much more controlled acoustic response to rough roads.